In this blog, we delve into the insights shared by Darrell Thorp on how to get great drum tones. From mic placement to managing ambient noise, these tips will elevate your recording game and ensure that every beat resonates perfectly. This article was curated from the video Production PSYCHOLOGY – Getting Great DRUM Tones – FAQ Friday with Darrell Thorp
Table of Contents
- Introduction to Drum Recording Techniques
- Understanding Drum Ringing Issues
- The Importance of Drum Tuning
- Dampening Techniques for Drums
- Microphone Selection and Placement
- Using Dynamics and Condensers Effectively
- Gating Techniques for Cleaner Mixes
- Addressing Psychological Barriers in Recording
- Creating a Comfortable Recording Environment
- Identifying and Overcoming Vocal Blocks
- Finding the Right Tone for the Artist
- Recognising When Your Mix is Finished
- Strategies for Handling Client Recalls
- Navigating Language Barriers in Mixing
- Effective Communication with Clients
- Dealing with Vague Feedback
- Setting Limits on Recalls
- Conclusion and Final Thoughts
- FAQs about Drum Recording
Introduction to Drum Recording Techniques
Recording drums effectively requires a solid understanding of various techniques that can greatly impact the final sound. Each element, from tuning to mic placement, plays a crucial role in achieving that perfect drum tone. This section will explore foundational techniques that every audio engineer should know when recording drums.
Key Techniques to Consider
- Proper drum tuning
- Effective dampening
- Microphone selection and placement
- Utilizing gating for cleaner mixes
Understanding Drum Ringing Issues
Drum ringing can be a significant issue during recording, especially with larger kits. Ringing occurs when the vibrations from one drum or cymbal affect others, leading to undesirable overtones. Understanding how to manage these ringing issues is essential for a clean recording.
Identifying the Source of Ringing
When you solo individual drums, listen closely for any unwanted ringing. Toms are particularly prone to this, and their tuning can make a noticeable difference. Pay attention to the following:
- Use tape or other dampening materials to control the sound.
- Adjust the tuning of the drums to minimise unwanted overtones.
The Importance of Drum Tuning
Drum tuning is often overlooked but is vital for achieving great drum tones. Properly tuned drums not only sound better but also respond more accurately to playing dynamics.
Tips for Effective Drum Tuning
- Start with a clean drumhead and ensure a proper seating.
- Use a drum tuner for precise adjustments.
- Experiment with different tunings to find the sound that fits your genre.
Dampening Techniques for Drums
Dampening is an essential technique to control the sustain and overtones of drums. It helps to achieve a tighter sound and can be done in several ways.
Effective Dampening Methods
- Apply tape or gels to the drumhead.
- Use pillows or blankets inside the drum for more control.
- Experiment with dampening rings to reduce sustain without losing tone.
Microphone Selection and Placement
The choice of microphones and their placement is critical for capturing the full essence of a drum kit. Different mics have unique characteristics that can influence the sound captured.
Choosing the Right Microphones
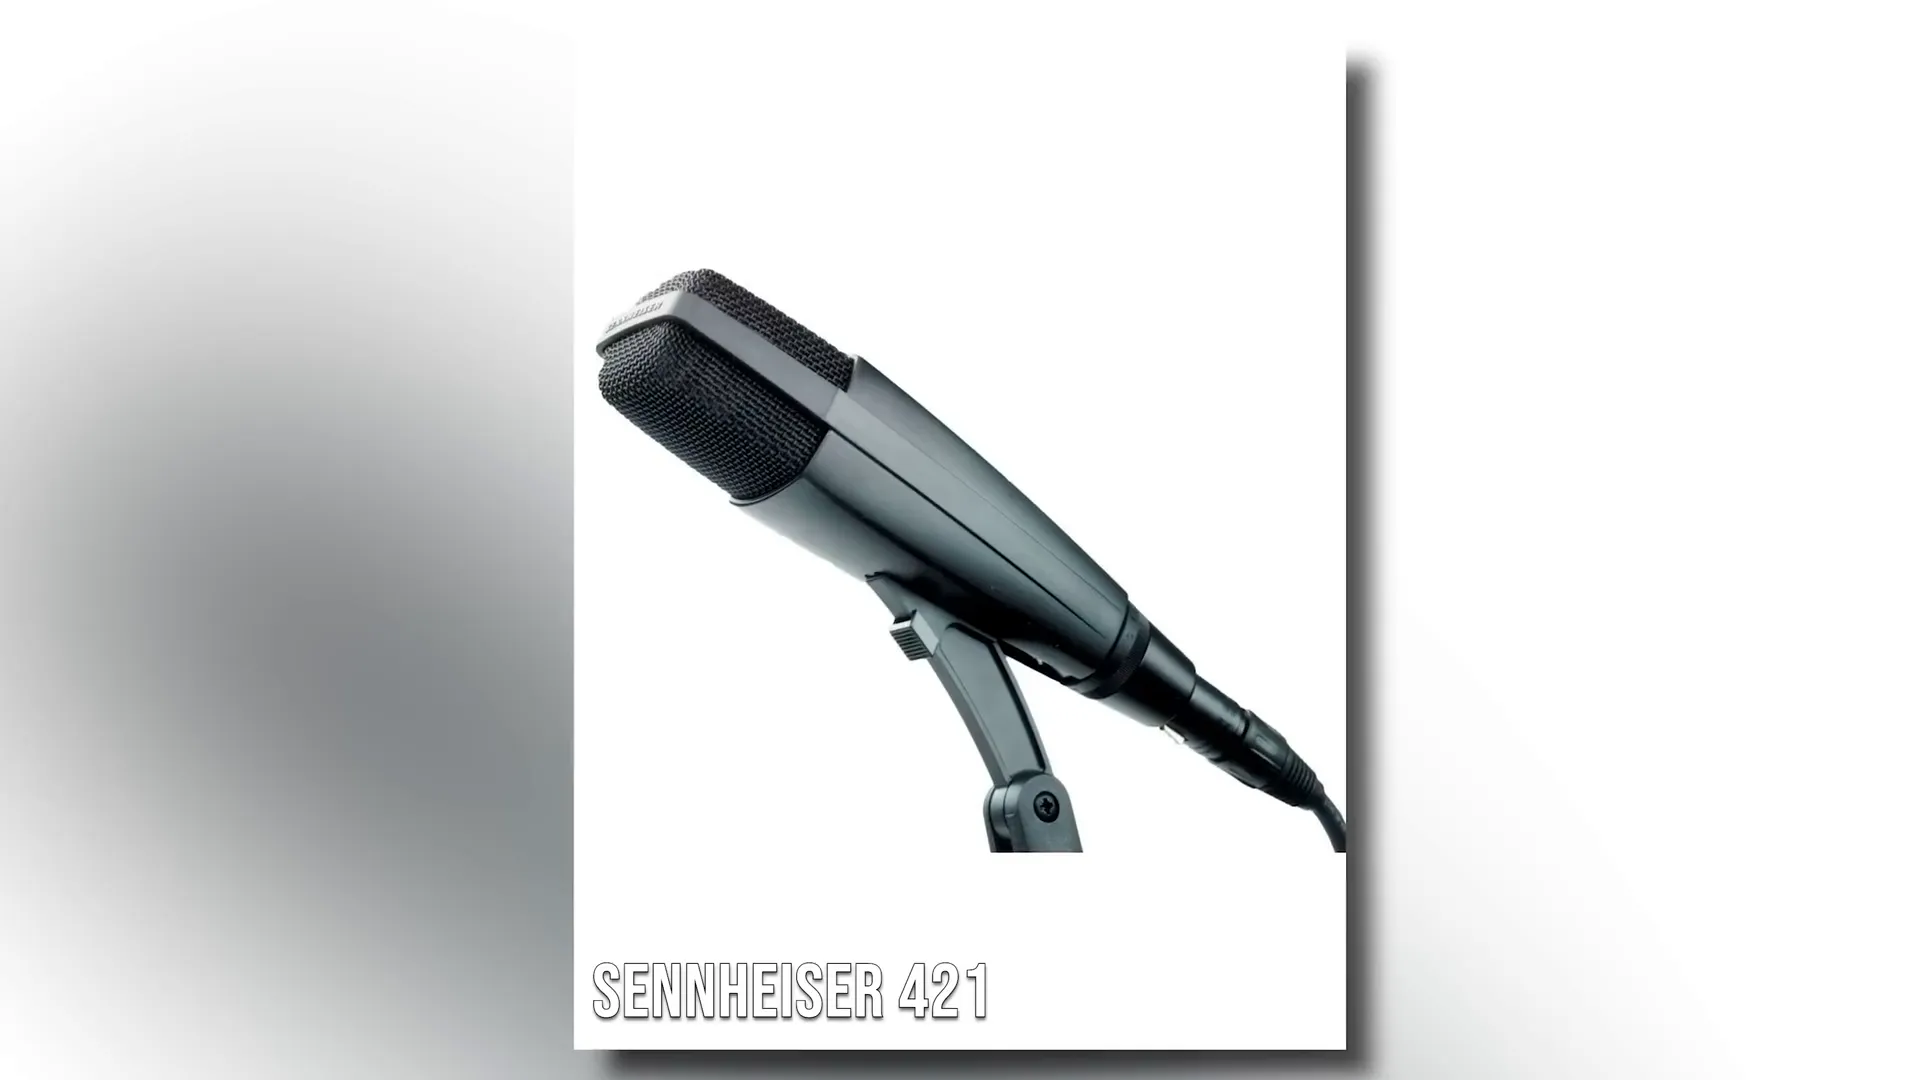
Consider using a combination of dynamic and condenser microphones. Dynamic mics are great for close miking, while condensers capture a broader frequency range.
Recommended Microphones
- Dynamic mics: Shure SM57 for snares, Sennheiser e604 for toms.
- Condenser mics: AKG C414 or Neumann KM184 for overheads.
Using Dynamics and Condensers Effectively
Understanding the strengths of dynamic and condenser microphones can greatly enhance your drum recordings. Each type serves a distinct purpose and can be used effectively in different scenarios.
Dynamic vs. Condenser Mics
- Dynamic Mics: Ideal for loud sound sources, providing high rejection of ambient noise.
- Condenser Mics: Excellent for capturing detail and nuance but may pick up unwanted sounds.

Gating Techniques for Cleaner Mixes
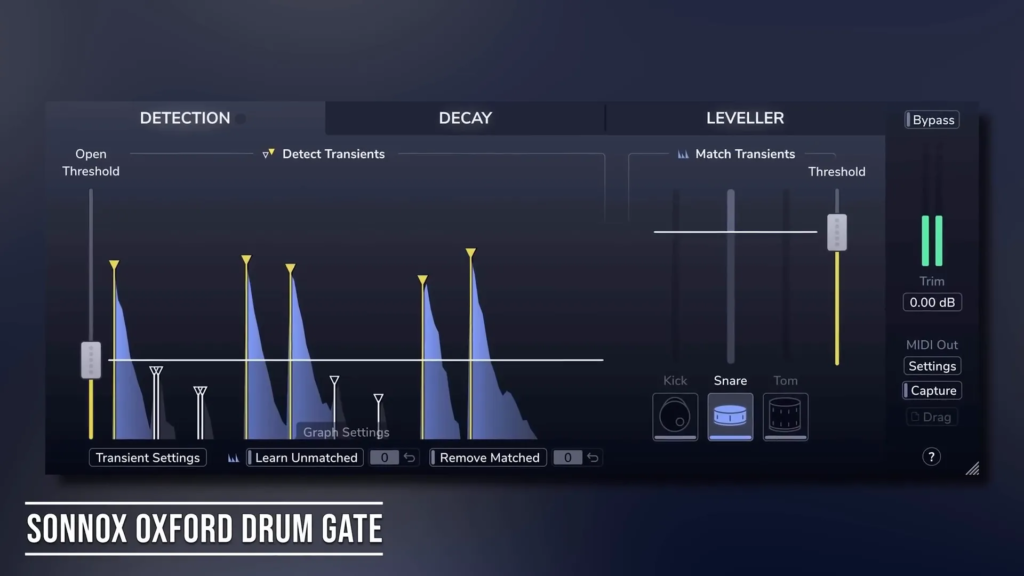
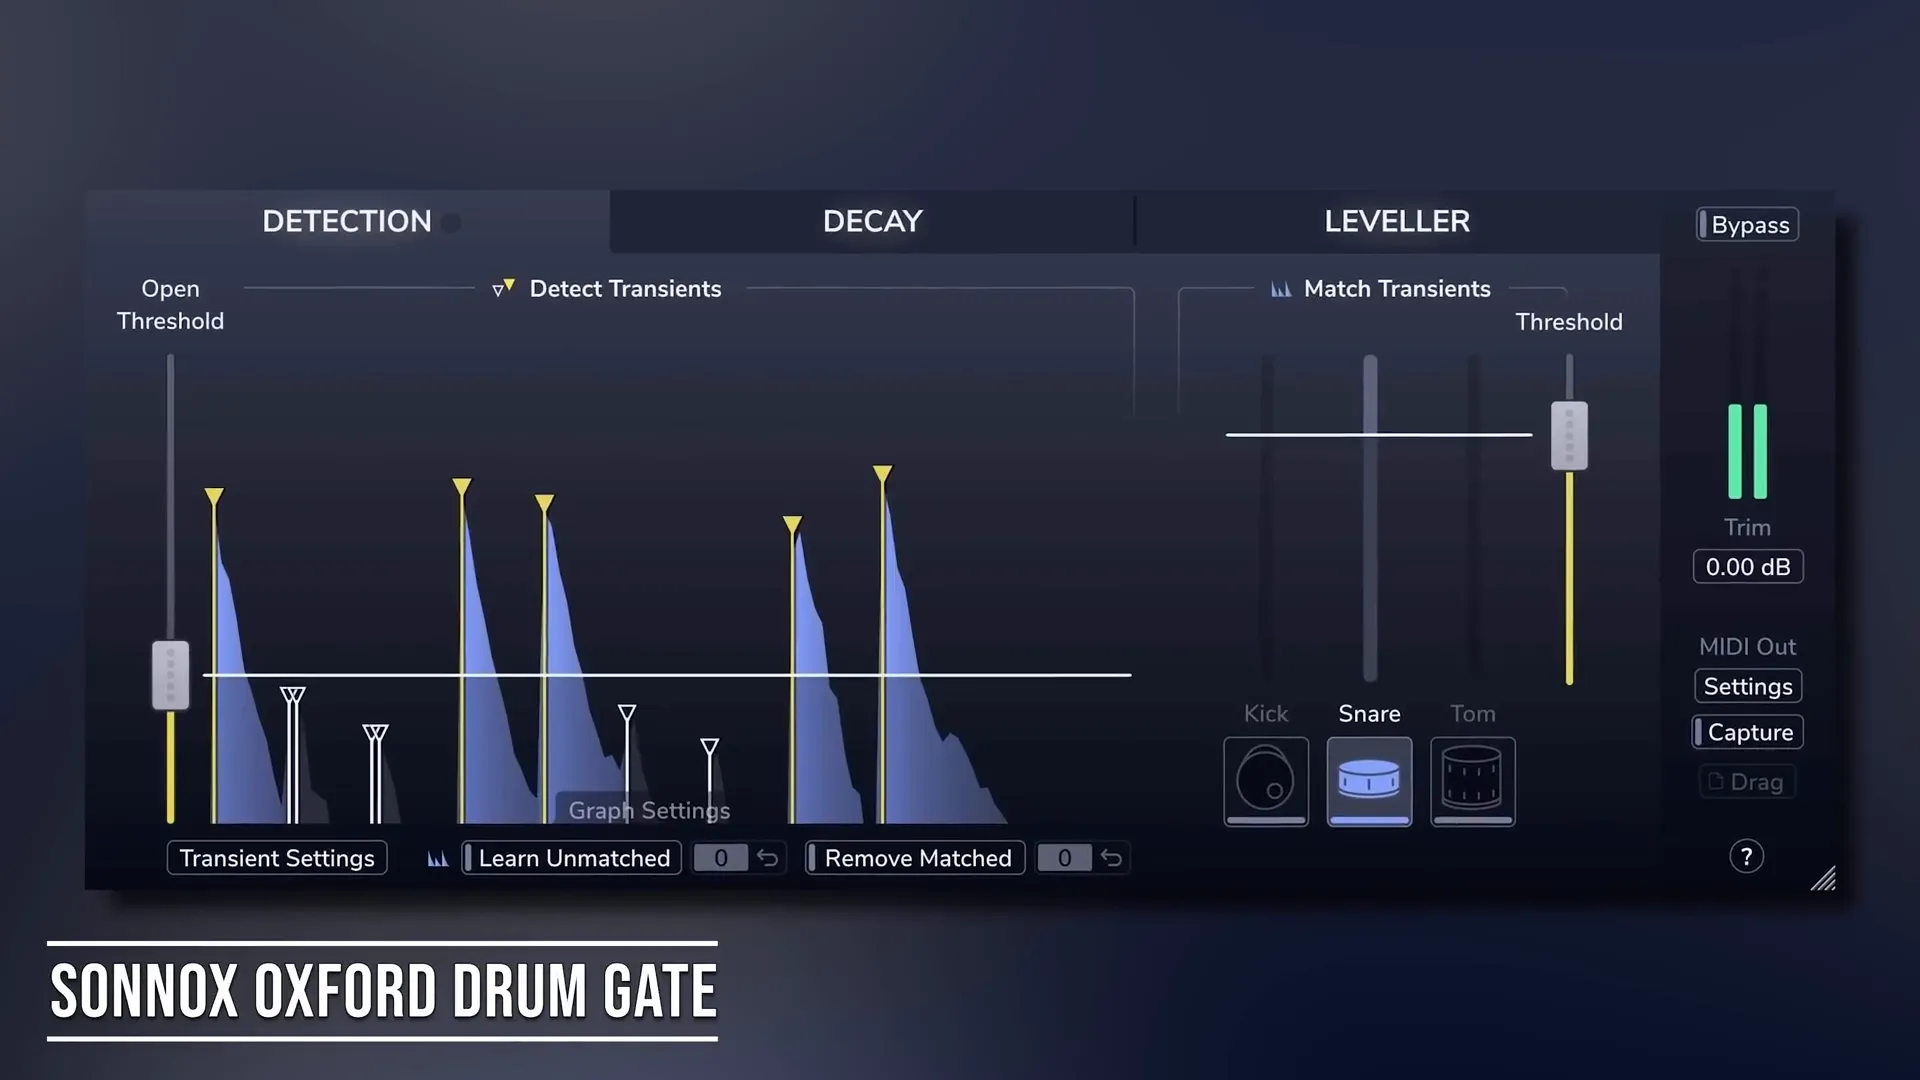
Gating is a powerful tool for achieving cleaner drum mixes. It allows you to control the bleed from other instruments and focus on the desired sound.
Implementing Gating in Your Mix
- Use gates to reduce background noise from other drums.
- Explore plugins like Oxford Drum Gate and SoundRatic’s Drum Leveler for effective gating.
- Adjust the threshold to ensure only the desired sounds are captured.
Addressing Psychological Barriers in Recording
Psychological barriers can significantly impact a recording session. Artists may feel nervous or blocked, which can hinder their performance. Identifying and addressing these barriers is crucial for a successful recording.
Creating a Relaxed Atmosphere
To help artists perform at their best, creating a relaxed atmosphere is essential. This can include adjusting the studio lighting, playing calming music, or even having a casual conversation to ease tension.
Understanding Artist Comfort
Many artists have specific preferences that contribute to their comfort during recording. Familiar instruments, settings, or even the presence of a trusted friend can make a significant difference. Always ask the artist what they need to feel at ease.
Creating a Comfortable Recording Environment
A comfortable recording environment fosters creativity and productivity. Every detail, from the studio layout to the equipment used, plays a part in this experience.
Studio Setup Essentials
- Ensure the space is clean and organised.
- Use comfortable seating for artists during breaks.
- Control ambient noise to prevent distractions.
Temperature and Acoustics
Maintaining a comfortable temperature is essential. A space that’s too hot or cold can distract artists and affect their performance. Additionally, consider the acoustics of the room; sound-absorbing materials can help achieve optimal recording conditions.
Identifying and Overcoming Vocal Blocks
Vocal blocks can arise from various factors, including stress or discomfort with equipment. Understanding these issues is vital for overcoming them effectively.
Encouraging Open Communication
Encourage artists to express their feelings about their performance and any discomfort they may have. This dialogue can reveal underlying issues that may be causing vocal blocks.Trial and Error with Equipment
Sometimes, the equipment used can create a barrier. If an artist struggles with a specific microphone, explore alternatives. Switching to a familiar mic can often help them find their voice again.
Finding the Right Tone for the Artist
Finding the right tone is crucial for capturing the essence of an artist’s sound. It involves understanding their musical identity and preferences.
Listening to Reference Tracks
Ask artists for reference tracks that resonate with them. This can provide insight into the tones and styles they aspire to achieve in their recordings.
Experimenting with Different Setups
Don’t hesitate to try various microphone placements and settings. Sometimes, the best tones come from unexpected configurations. Encourage artists to play around with their sound until it feels right.
Recognising When Your Mix is Finished
Recognising when a mix is complete can be challenging. It’s easy to get caught in a cycle of tweaking, but there are signs to look for.
Trusting Your Instincts
A good rule of thumb is to trust your instincts. If you find yourself making small adjustments without clear purpose, it may be time to consider the mix finished. Take a step back and listen.
Seeking Feedback
Getting feedback from trusted colleagues or the artist can provide clarity. Fresh ears can often catch what you might have missed, ensuring that the mix is as strong as possible.
Strategies for Handling Client Recalls
Client recalls can be tricky, especially when communication isn’t clear. Having strategies in place can streamline the process and lead to better outcomes.
Clarifying Client Feedback
When a client provides vague feedback, ask specific questions to clarify their requests. This can help you understand their vision and implement the necessary changes effectively.
Using Visual Aids
Visual aids, such as screenshots of the mix, can help clients articulate their feedback. Showing them specific elements can lead to more constructive conversations about what they want to change.
Navigating Language Barriers in Mixing
Language barriers can complicate the mixing process, but there are ways to navigate these challenges effectively.
Utilising Translation Tools
Leverage translation tools to communicate with clients who speak different languages. This can help ensure that you understand their needs and can respond appropriately.
Establishing Common Terminology
Develop a glossary of common mixing terms in both languages. This can help bridge the gap and facilitate clearer communication throughout the project.
Effective Communication with Clients
Effective communication is vital when working with clients. It ensures that both parties are aligned on expectations and outcomes. Establishing a clear dialogue can help bridge gaps between artistic vision and technical execution.
Establishing Clear Goals
At the beginning of any project, discuss the desired outcomes with your clients. Ask them about their vision, referencing examples if possible. This clarity will guide the entire recording process.
Regular Check-Ins
Schedule regular check-ins to discuss progress and gather feedback. This keeps clients engaged and allows for adjustments early in the process, preventing major revisions later on.
Dealing with Vague Feedback
Vague feedback can be frustrating and lead to miscommunication. To navigate this, use specific questions to clarify what the client wants.
Ask Targeted Questions
When clients provide unclear feedback, ask targeted questions. For example, instead of asking if they like a mix, inquire about specific elements such as the vocal level or the reverb used.
Utilising Visual Aids
Visual aids can enhance understanding. Screenshots from the mixing session can help clients articulate their feedback better. For instance, showing them a waveform can clarify whether they want more or less of a particular element.
Setting Limits on Recalls
Setting limits on recalls is essential to maintain project momentum and manage client expectations. While flexibility is important, boundaries help prevent endless revisions.
Establishing a Recall Policy
Before starting a project, discuss a recall policy with your clients. For instance, a limit of ten recalls can be a fair starting point. This encourages clients to consolidate their feedback and focus on the most critical changes.
Communicating the Importance of Finality
Communicate the importance of finality in the mixing process. Explain that while you are committed to achieving their vision, too many small changes can lead to diminishing returns in quality.
Conclusion and Final Thoughts
In the world of drum recording, effective communication, handling feedback, and setting limits are crucial for successful sessions. By implementing these strategies, you can foster a productive environment that enhances creativity and leads to great results.
Remember, the goal is to get great drum tones while ensuring that both you and your clients are satisfied with the final product. Approach each session with an open mind, a willingness to adapt, and a clear focus on the desired outcomes.
FAQs about Drum Recording
What are the best microphones for recording drums?
Dynamic microphones like the Shure SM57 are excellent for snares, while condensers like the AKG C414 work well for overheads. Using a mix of both can capture a full range of sounds.
How do I reduce unwanted ringing in drums?
To minimise unwanted ringing, ensure proper drum tuning and use dampening techniques. Applying tape or gels around the drum edges can help control sustain.
What should I do if an artist feels blocked during recording?
Encourage open communication about their feelings and preferences. Sometimes, switching back to familiar equipment can help them regain their comfort and confidence.
How can I improve communication with clients who speak a different language?
Utilising translation tools can streamline communication. Establishing common terminology and using visual aids can also help bridge the gap.
For more insights on music production and recording techniques, check out our other articles, such as Discover the strategies behind generating $364,000 in sales from selling beats and Infuse your tracks with the ethereal, dreamy sound of Trippie Redd Vocal Effect.

